If you enjoy a blast from the past, the fun craft of macrame is for you. I grew up making hemp jewelry, so a lot of these knots are muscle memory that have finally found a name. Those were fun, carefree times. Now, I enjoy using those techniques to make decor for my walls. A simple way to get started is through this DIY Macramé Wall Hanging Tutorial:
You’ll Need:
-
2 Rods (Bamboo, Dowel, Plumbing Pipes all make great bases!) I’m using leftover gold painted bamboo from a previous bamboo curtain rod project.
-
-
Embellishments ( Wood beads, Large nuts, pipe couplings, etc.) I’m using 14 Copper 1/2″ couplings.
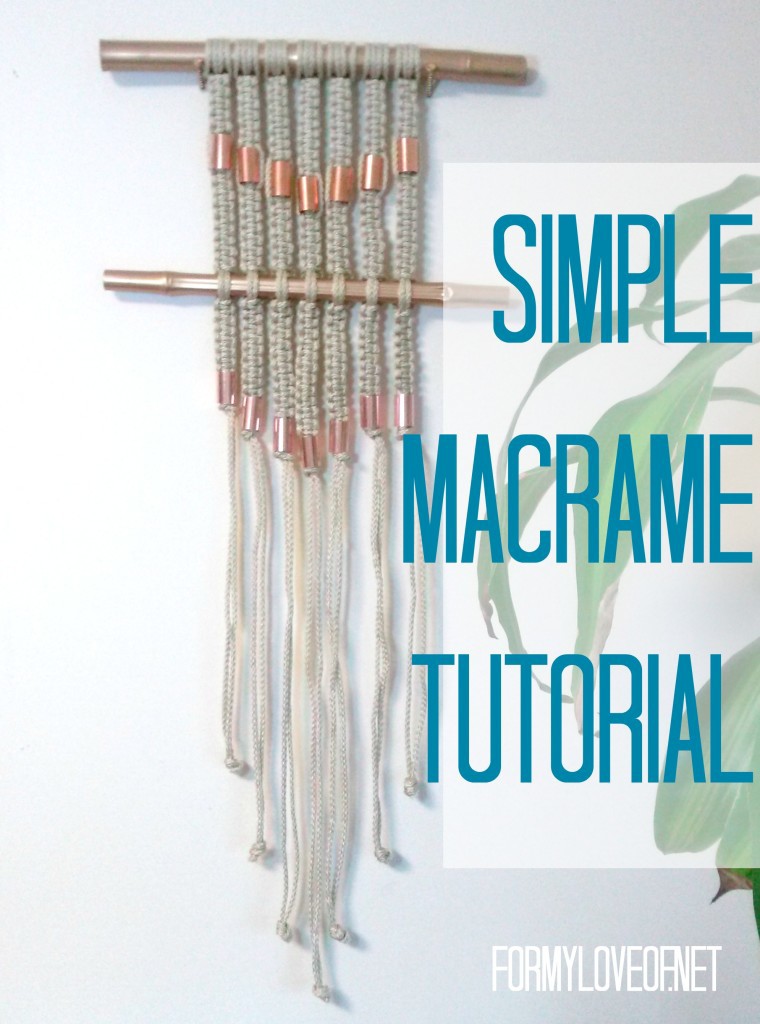
DIY Macramé Wall Hanging Tutorial
Take your Macramé Cord and cut into 16 pieces about 2 arms-lengths long/Approximately 9 feet each. Fold each length of cord in half, lay the fold underneath the rod, pull the loop end up far enough to pull the two loose ends through the loop, and pull tight. Repeat with each of the 16 other pieces of cord. This cord is a bit slippery (the more I macrame, the more I don’t recommend this particular cord. This one is fantastic), so they may slide out of their knot a bit, but will tighten once we get a couple knots going.

Once the cords are attached to your first rod, we’ll begin square knots with groups of 4 strands of cord. Separate 4 cords starting from either end of your rod. Take the left most string and cross it overtop the middle two cords, loop the right most cord over top the left most string then behind the middle two cords, through the loop made by the left most cord, and pull tight. Alternate starting with left and right most cords to create flat knots.
There are many types of knots that are popular with Macrame Wall Hangings, but there are just a few that we’ll be using to keep things simple and easy.
When adding in embellishments, slide them over the center cords and tie your knot below to secure it in place.
To add an addition rod, run the outer cords underneath the rod and the inner two cords over top the rod. Then tie a square knot to secure it in place.
Eventually, the outer cords will run out before the inner cords do because we’re using equal lengths of cord. Pull a large enough embellishment overtop a few knots and cut the outer cords so that they’ll be hidden within the embellishment. Then tie a simple overhand knot to hold the embellishment in place.
For reference, I’ve included a chart with the number of knots in each length. This creates a small macrame wall hanging. The perfect size to start out with.
With the extra lengths of inner cords, tie overhand knots to mimic the arrow shape the embellishments create. This can be as far down the cord as what works for the space yours will live.
I hope you’ve enjoyed this simple macrame tutorial! Macrame is all about knots in various patterns. This simple macrame tutorial will help get your feet wet so you can go on to trying more elaborate pieces, like this one.
If you liked this tutorial, please share it with your friends!


